|
Recent Projects - Carp basement renovation This customer in Carp has a beautiful bungalow with radiant heated floors in the basement and wanted to remove the carpet and install approx 2000 sq. feet of hardwood. They were also looking for a 3X5 area of ceramic at the entrance to the walk out basement to protect the hardwood floors. The customer didnĺt envy paying the installation costs for this work and considered himself a handyman but wanted a little assistance to ensure his effort and investment looked professional once completed. Our job was to: 1) Install the ceramic tile; 2) Consult and plan out the starting point and assist with the first few rows to ensure they didnĺt get into any trouble; 3) determine if expansion joints were necessary; 4) install the transitions; 5) cut the door casing to allow clearance for the hardwood under the molding. We also measured across the floor to review the size of width of pieces intersecting with opposing walls. This sometimes becomes an exercise of robbing Peter to pay Paul when you have several intersecting widths. Once they had their hardwood, it was placed in the room where it would be installed and allowed to acclimatize to the room for a week prior to the installation. A few days before the start date, we asked the customer to open a box of the hardwood and send us the instructions as we wanted to review manufactures recommended clearances for walls, etc. As we read the instructions, we noted that this product was not warranted for installation on radiant heated floors. We had instructed the customer to make sure this was mentioned when they were purchasing their flooring. With a quick call to the manufacturer to inquire as to why, we learned that this flooring was too thin and would likely cup with the heat from the floor. Well I can assure you our customer wasnĺt too pleased to learn this after having carried close to 100 boxes of flooring from his driveway to his basement. The couple had been advised this product was ok for installation over radiant heat and we put the manufacturer in touch with the store to clear up the confusion. While they were annoyed with the wasted hauling and shopping effort, we were happy to have saved them a lot more grief in the long run. So hereĺs a look at the job Carp ceramic entrance 1 The color combination between hardwood and ceramic ties in very nicely. When selecting a grout color to install, it is best to stay with a color close to your ceramic tiles so you are not left with grid lines jumping out at you. 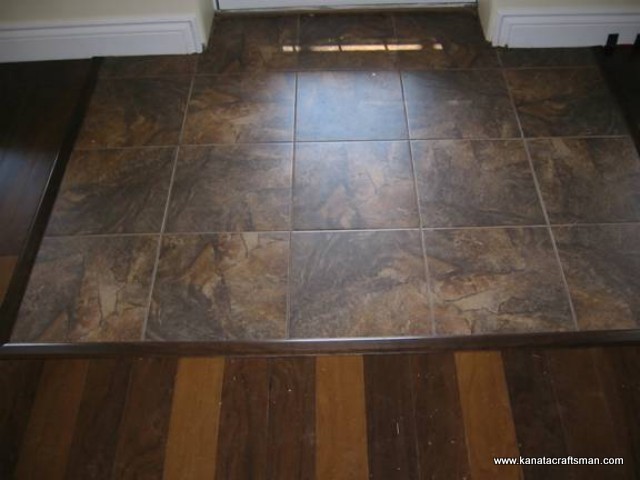
Carp ceramic entrance 2 A lot of ceramic tiles are comprised of half a dozen or so prints which means that many will be exactly the same especially for a large ceramic job. This is less noticeable if you rotate the print. You can see some of the tiles that are the same print in this picture. Rotating this ceramic tile print randomly is important for the aesthetics when installing ceramic. 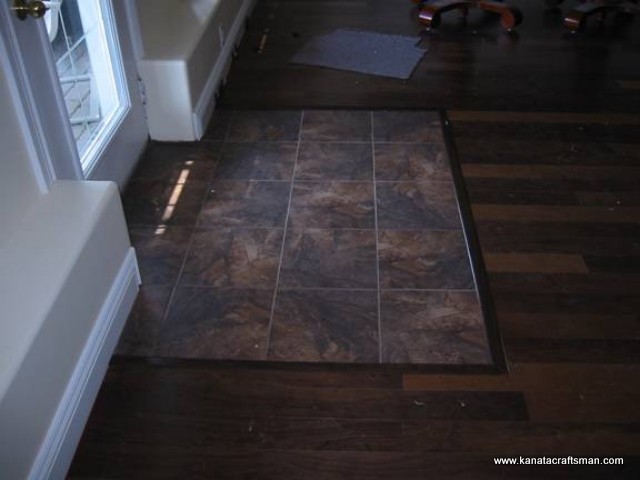
Carp hardwood transition We are not usually impressed with the number of standard options for transitions when we install hardwood. We often make our own custom pieces. However, in this case this transition had two perforated edges on the back and came with a tool to allow you the versatility to easily cut pieces out of the back of the molding and install it depending on your application. Carp hardwood 1 When we installed the first few rows with the customer, we put spacers along the baseboards to ensure the floor didnĺt shift as they continued installing. 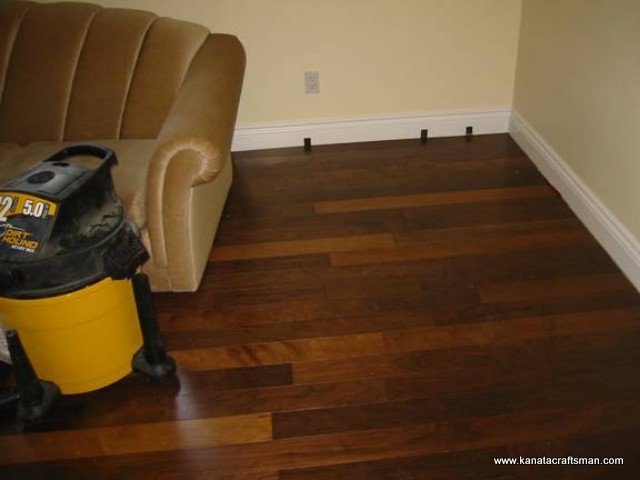
Carp hardwood 2 This couple made a great team. She laid the underlayment and selected the hardwood pieces from several different boxes for her husband to install to ensure a varied color pattern across the floor. I asked if they had ever installed wallpaper together and I donĺt believe they have as they didnĺt get my joke. Hanging wallpaper can test the best of relationships. 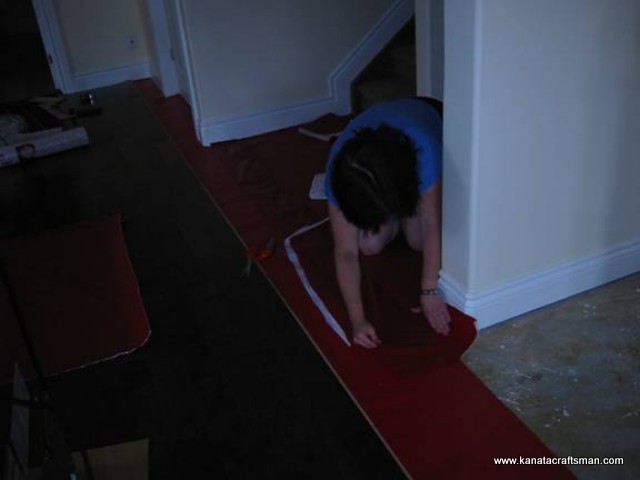
Carp hardwood 3 With experience comes wisdom. If you have to roll an appliance across a laminate hardwood, test it on a scrap piece first to make sure it doesnĺt mar the floor. In this case the rollers were very small and did damage the scrap piece when tested. Cardboard was used to protect the floor when it was necessary to move it to install under the fridge. 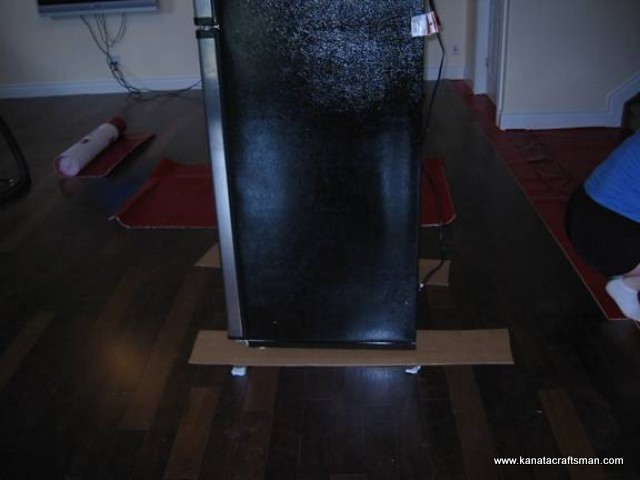
Carp hardwood 4 The laminate hardwood floor is finished and the customer is looking forward to hosting the next Texas hold-em game in Carp to showcase his work and to hopefully win enough to pay for his floor. 
Carp hardwood 5 As this was a floating laminate hardwood floor, you had the option of installing the flooring in any direction. Two basic rules for this hardwood were to run the planks the ôlong wayö of the room and have the hardwood run towards the largest source of natural light which is more appealing when light reflects off the floor. These two concepts can sometimes conflict depending on where your windows are. They didnĺt for this Carp job but if they do, keep in mind that this is for aesthetics so you are best to lay down several rows and then rotate them to see which way is most appealing. A third factor comes into play when nailing down hardwood floors upstairs as they should be installed perpendicular to the joists for stronger support but thatĺs another story! 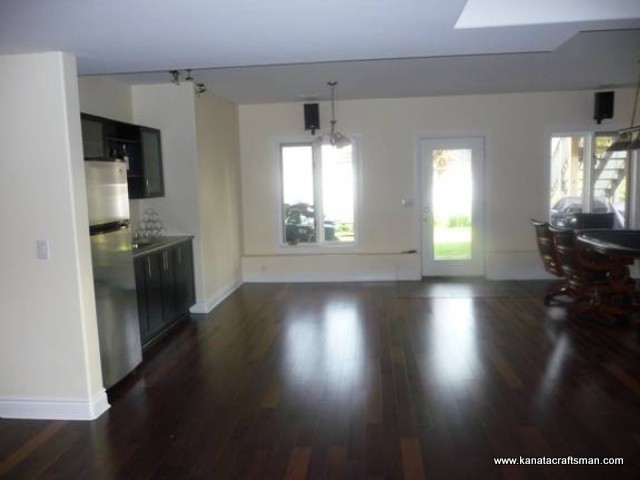
|