|
Recent Projects - Glebe Transitions Glebe transitions 1 A customer in the Glebe had a lengthy to-do list for us to complete in her home. While we didnÆt install the hardwood or the transition piece in the picture below, we were asked to address the transition problem she had in this room. The issue with this transition is that two different types of material were used to address the difference in varied height between rooms. A piece of cove hardwood molding was turned upside down and tacked down to address the different lengths of butt ends that were cut where the hallway floor ended. Additionally, and because the two floors were uneven, a piece of primed quarter round was added to address the exposed gap where the upside down cove molding didnÆt meet the floor. While this wasnÆt esthetically pleasing, the larger problem was that this presented a safety hazard in the home. The left side of the doorway has a trip ledge that was a little more than a quarter inch. Not something you would want in your daughterÆs bedroom especially when the trip edge is close to the top of the stairs. HereÆs what the transition looked like before. Glebe transitions 2 Once the molding was removed, you can really see the difference between the two floors and the challenge to make a custom hardwood transition piece for this bedroom. We had a better idea as to why the contractor or handyman did it this way as you will not find any standard molding to address a problem like this. Older homes such as this home in the Glebe present all kinds of challenges as the home has settled over the years. It is challenges like this that our craftsmen excel at. Glebe transitions 3 We wanted the transition to match the existing hardwood floor and we were fortunate that the customer had extra hardwood left over that we could make the transition out of the same wood. We started with a stationary planer and planed two pieces of hardwood flooring smooth so they can be glued together. The groves on the underside of the hardwood as well the finish on the front side is removed to allow good bond between the two pieces when glued. 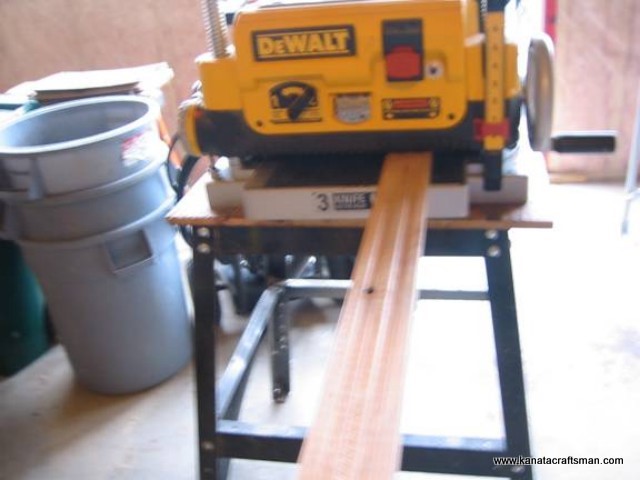
Glebe transitions 4 You want to ensure you use pieces of scrap material when clamping the hardwood flooring together so you do not mar the transition. 
Glebe transitions 5 Once weÆve allowed sufficient time for our glue to dry, we plane the sides of the two pieces so we can transfer a nice clean line that matches the height of the transition we need to cut for this Glebe home. 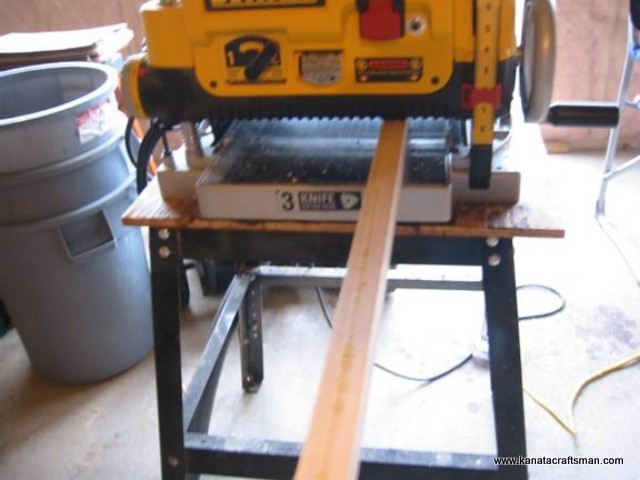
Glebe transitions 6 If you are bonding two pieces of hardwood flooring to make a transition which must be planed, you should make it at least 12 inches longer than what is needed for the transition. This takes into account planer snipe as the blades of a planer sometimes cut into the wood a little deeper at the start and end when you remove the board. This allows you to remove 6 inches from each end of the transition. 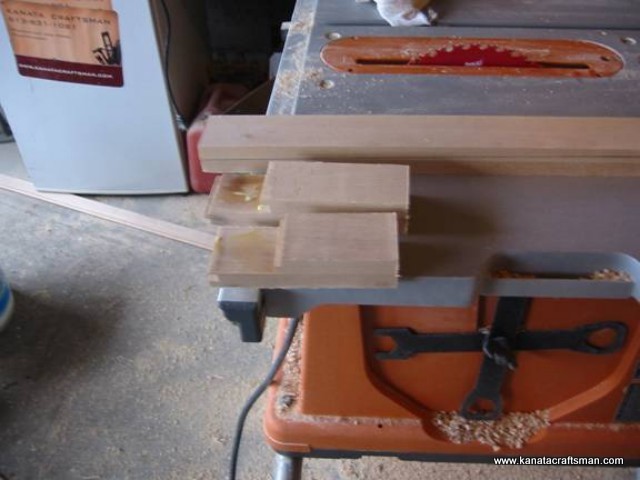
Glebe transitions 7 We used a piece of scrap wood and holding it in place where the transition would sit, we followed the higher floor line with a pencil in order to get an accurate line to match the varying height of the two hardwood floors. This line was transcribed to our transition piece which is now cut to length. There was quite a variation in thickness. An electric hand planer was used to cut the height across the transition. 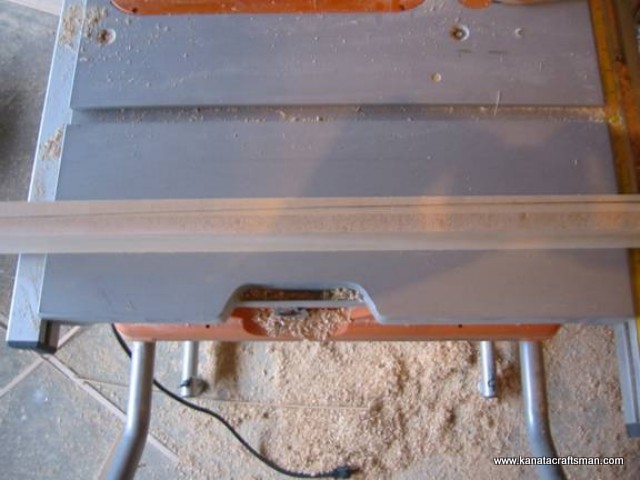
Glebe transitions 8 Starting at the thicker end where more material has to be removed, we work backwards, increasing the length of our plane each time to allow the material to be removed while maintaining a smooth surface. Here you can see our line and the remaining material to be removed is now consistent from one end of the hardwood to the other. Now itÆs just a matter of making complete passes over the entire transition until you meet your line. Safety glasses are a must when using an electric planer. 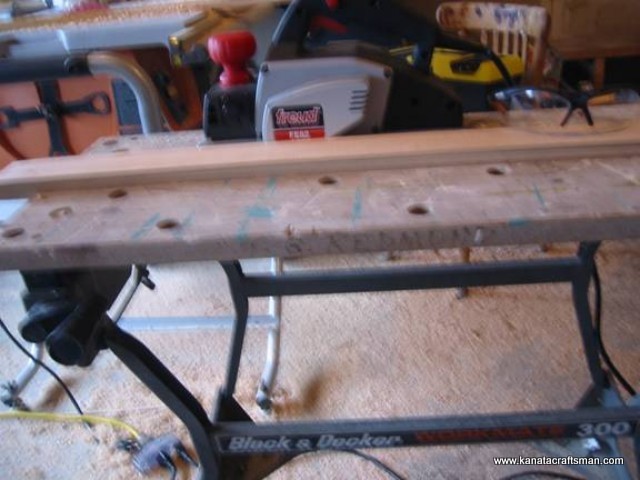
Glebe transitions 9 Once our hardwood is planed to the correct thickness, we cut the angle on a table saw to allow for a smooth transition. There is no rule for this angle as it will vary with the width of the wood and the height of the transition you are trying to accomplish. ItÆs a matter of figuring out where the saw blade will be when it enters the thin end of the transition and where it will exit when it exits the thicker end of the transition. Given the varied thickness of this hardwood, it is not possible to use an anti kickback device on the table saw so ensure you are not standing directly behind the piece when you are cutting the angle for this transition piece. Here is our transition after installation. Glebe transitions 10 You will see a gradual profile change across this transition but it is so gradual that it wouldnÆt be visible unless it was pointed out to you. Our customer was so happy with the results of this hardwood transition, she asked us to address the three other transitions on the second floor of this Glebe home. Glebe transitions 11 Here was a similar problem for the entrance to the bathroom. The metal piece of bull nosing was very hard on the bottom of your feet when stepped on. You can see the quarter round slope down which exposed the metal bull nosing that was used to cap the linoleum for the bathroom floor. Glebe transitions 12 WeÆve heard the feet in the Glebe are much happier since installing this transition. Glebe transitions 13 The method used to tackle this transition was interesting to say the least. The hallway height was an inch and a quarter higher than the floor in the bedroom of this Glebe home. WeÆre not that keen on using metal bull nosing to cap when two areas that have hardwood meet but thatÆs one way to do it. Glebe transitions 14 This picture is taken from floor level which shows the molding that was used to build up an inch and a quarter. First, two pieces of ╝ö plywood were ripped and fit along the length of the entrance to build up the area. A piece of quarter round was then used to cap the side of the plywood so you couldnÆt see it. Next, a piece of Šö round was placed on top of the plywood to build up to the height to sit flush with the metal bull nosing. 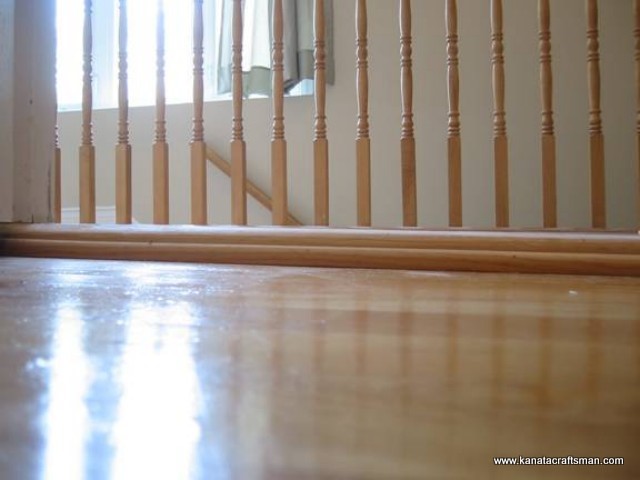
Glebe transitions 15 The same MO was used for the transition from the hallway into the office of this Glebe home. Glebe transitions 16 And once all ōthe stuffö was removed, we were ready to install our new transition Glebe transitions 17 The new transition in the master bedroom is installed and the stubbed toes issue in the Glebe is solved. Glebe transitions 18 Because the metal bull nosing was screwed into the hallway hardwood flooring, it was necessary to plane a small strip of the same hardwood flooring down to about 1/16 of an inch and match this flush along our transition to hide the screw holes. Although we had putty that matched very closely, it still didnÆt look right without this strip. Had we installed the hardwood, it would have been possible to make the transition with a tongue that could have fitted into the groove of the hallway hardwood flooring. In this particular case, the grove had been ripped off prior to installation. Glebe transitions 19 And our final transition in between the Office and hallway is installed in this Glebe home. |