|
Recent Projects - Ottawa Popcorn Ceiling Repair Ottawa Popcorn ceiling 1 Popcorn or stipple ceiling is very popular in a lot of homes in the Ottawa area. You either love it or hate it but the latter usually applies when it comes time to repair it. It is possible to match your stipple but it takes a lot of trial and error. For a perfect match, you have to find the same product and put it on in the same manner that was used in the first place to have any success with this repair. For example, even if you have the same product that was applied originally, trying to roll this on a ceiling will not yield the same results if this was sprayed from a hopper when it was initially done. If we can save you a little grief, weĺll advise that you shouldnĺt try to use an aerosol popcorn spray can if you have a large area to repair. It is also difficult to get a good match with these products. While it is not our intent to discourage anyone from trying home improvement projects, this one isnĺt for the faint of heart! The upside of trying this yourself is if you are not happy with the result, you can scrape it off the ceiling while it is still wet and there is no damage done. With regards to the experimenting, it is best to try this on a scrap piece of drywall in the garage and see how close a match you can get. This will help you get a feel for coverage when spraying and apprentice before the final test. When I was growing up, whether it was stipple, paint, plastering drywall, ceramic tile, or hardwood, my Father, who has built several homes always ensured I got my apprenticeship in the closets first. Iĺd love to go back to that first house in Pembroke to see my workmanship today. So letĺs get started. Letĺs say you have a 3 foot square area to patch where the drywall got wet and you have to replace it. The job is to remove and reinstall new drywall which must be plastered, taped, sanded, and primed before we can attempt to try and match the new stipple. We need to cut back our damaged area of drywall until we reach a joist or strapping so we have wood to mount the new drywall to. Once you have found this edge, use a straight edge to draw a line on the ceiling where you have to cut. You can use a square as well as the goal is to remove a square piece from the ceiling so cutting and installing another piece is a relatively painless task. Speaking of pain, remember those safety glasses and the simple rule that if you keep two hands on your drywall knife, itĺs not possible to cut your other hand. Once the piece is installed, we need to remove the stipple about 12ö around the entire area as we will be taping the joint between the old and new drywall. 12ö is necessary to feather out the plaster compound so the repair is not visible. Use a spray bottle and spray water on the old stipple which makes scrapping it off a lot easier. Use a wide putty knife for removal but be careful not to press too hard and cut the wallboard. With regards to taping and plastering, you donĺt have to get this as perfect as you would for a wall. You shouldnĺt have to do much sanding and you can just feather out your next couple coats within reason of course. Stipple hides a lot of sins which is likely why it became so popular in the first place. You donĺt have to spend much time on your skim coats for ceilings when building. Once we have a reasonable smooth surface, we need to prime the area to ensure our material will bond properly. So after you have experimented and found a product and method youĺre happy with, you have likely learned in the garage (hopefully you were in the garage) that this makes quite a mess. Especially if you are spraying stipple, that stuff travels! Ensure you have taken the time to prep the area with drop clothes and/or plastic. You can use a stapler or push pins to attach plastic right to the stipple ceiling just outside the area you will be spraying. You can touch up the small holes later when the job is complete. You want to achieve a ôshower curtainö around the entire area you will be spraying. Ensure you have the floor covered as well and remove your shoes when you leave the protected area after spraying. Youĺll see in this picture for this cathedral ceiling in Ottawa that we have protected the wall on one side by using masking tape to cover the wall edge where it meets the ceiling. This will allow a nice clean line when we remove the tape. 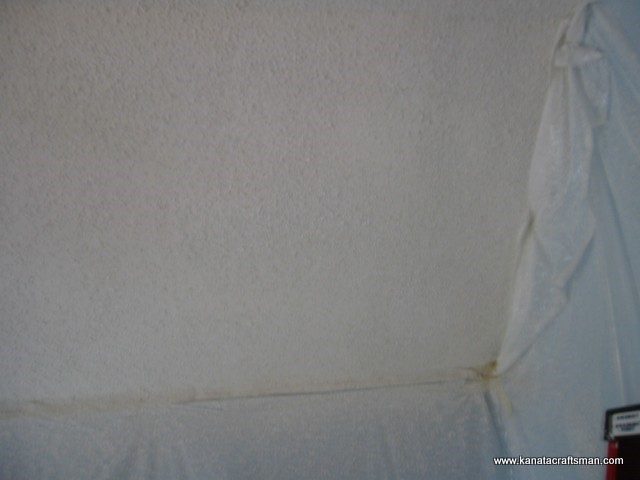
On the other side, weĺve attached our plastic to the ceiling. 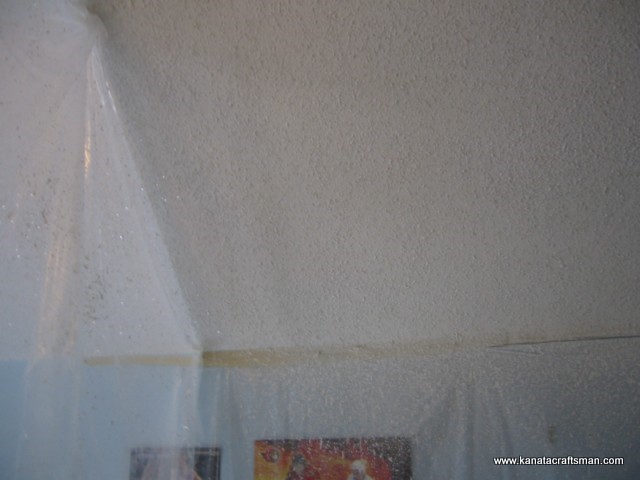
Ottawa Popcorn ceiling 2 As you can see in this picture, we were able to match this ceiling perfectly. When an associate saw this picture he said itĺs a good thing it was a sparkled ceiling as no one would believe there was a repair there. Left side of picture is old ceiling and right side is our repaired area. You can see the sparkle in the old ceiling. Keep in mind that even when you can match the texture of the ceiling, it will be necessary to paint the entire ceiling for a perfect color match. Painting a stipple ceiling isnĺt a fun home improvement project but thatĺs another story. Good luck with your project. 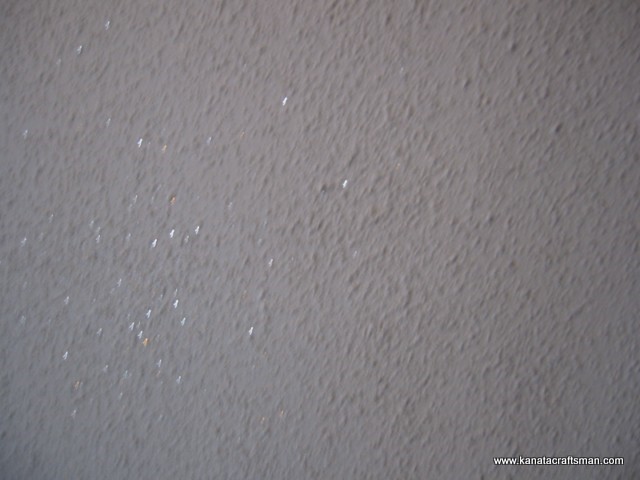
|